|
ST205 Forged Engine Rebuild |
|
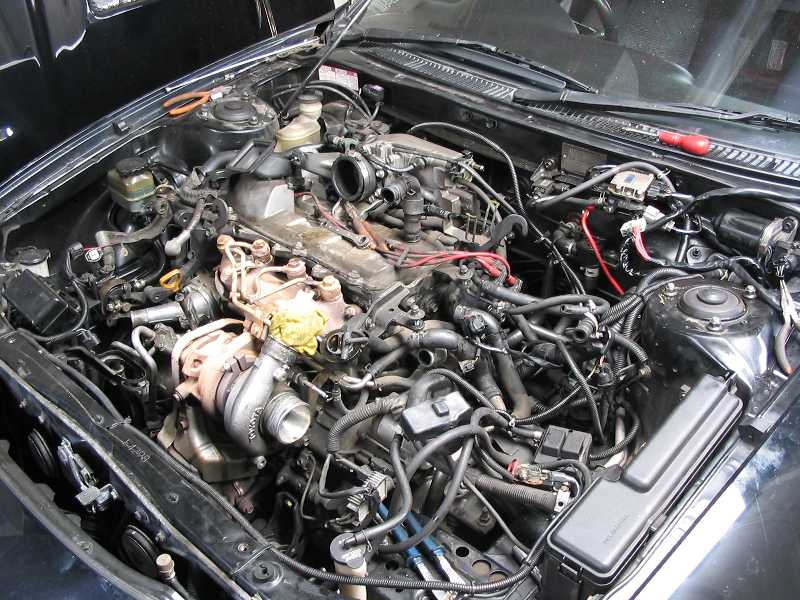
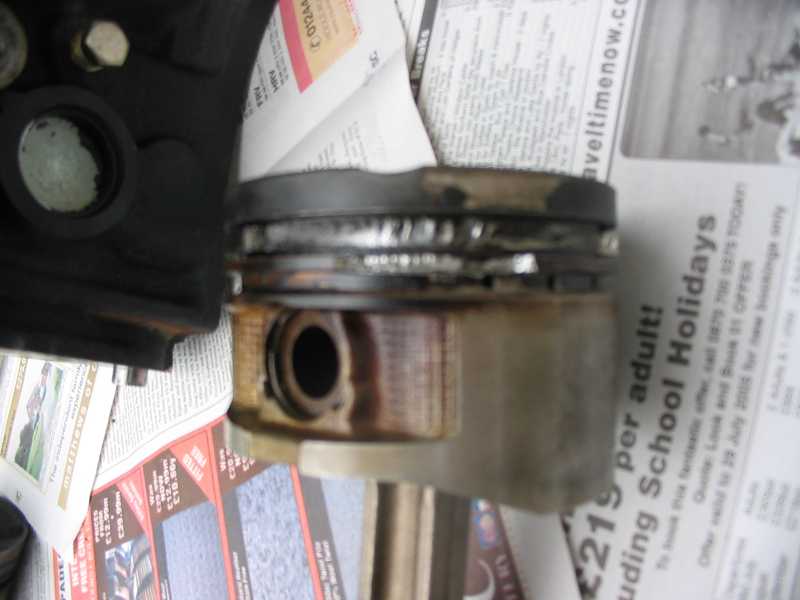
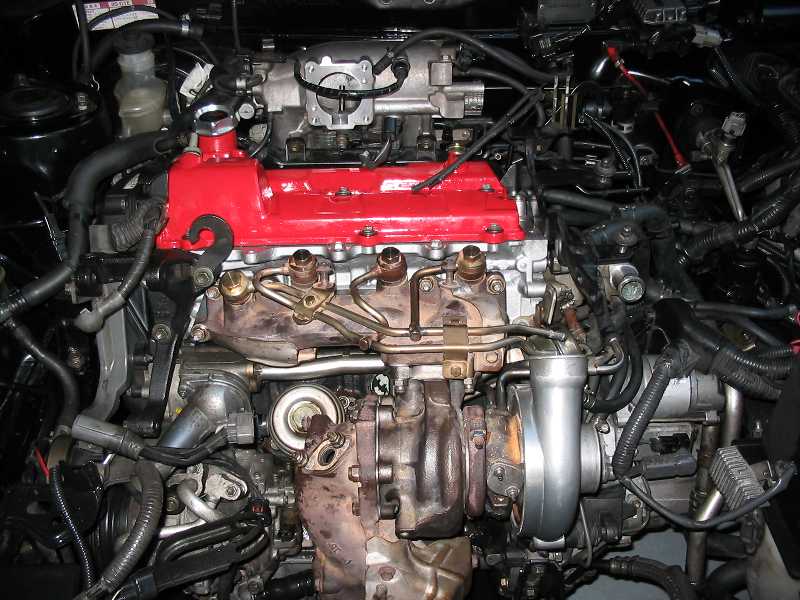
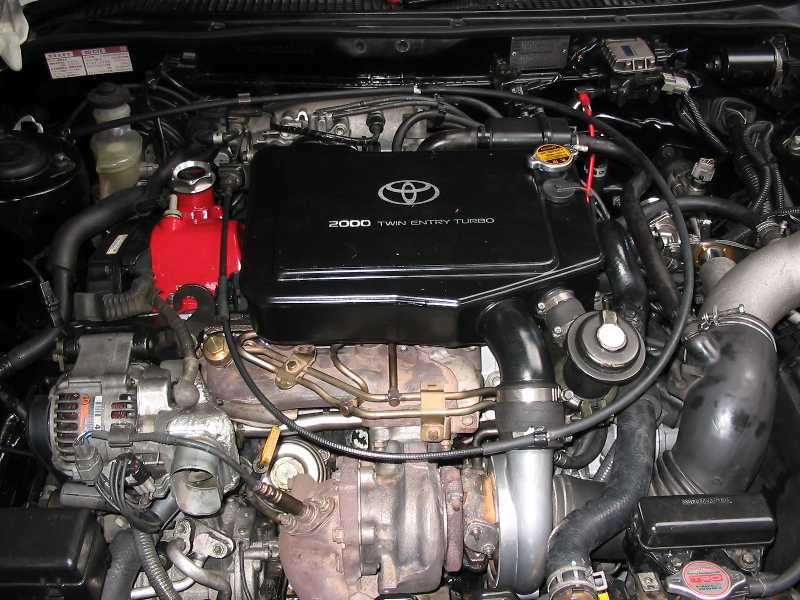
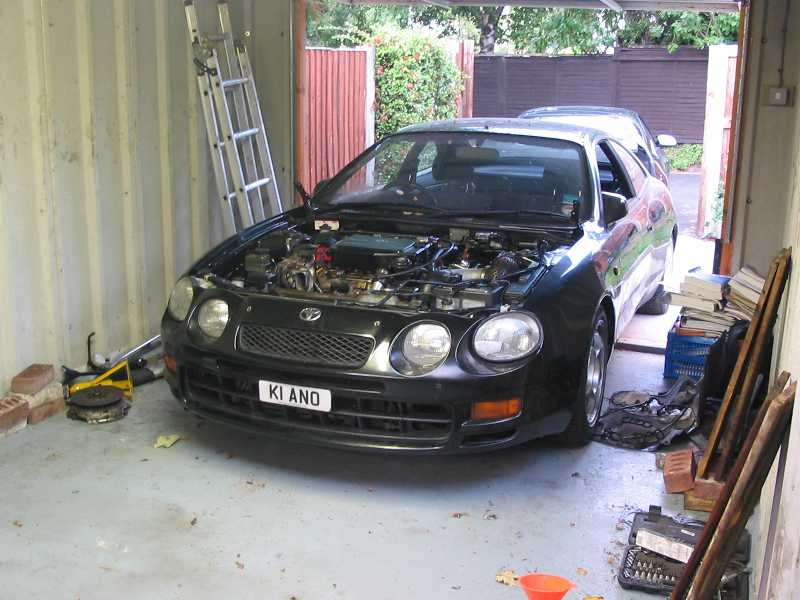
Well the time had to come didn't it ? Reliable GT4 ownership had to end ... Well it was all my fault really - at least I think so ! My Easter 2005 Nurburgring trip was very enjoyable and the ST205 was a stormer round the track ;-) I did around 20 laps with no issues. Unfortunately though either the laps or the trip back to catch the ferry resulted in a poorly sounding engine. Had it not been for a lumpy idle I would not have known anything was wrong but the tell tale sign of ring-land failure was evident when I removed the oil filler cap. Plumes of blue smoke billowed out as I revved the engine and I knew it was curtains for the engine. The rest of this page explains the engine rebuild which I carried out as a result - enjoy and maybe learn a couple of lessons from my experiences ! Decision
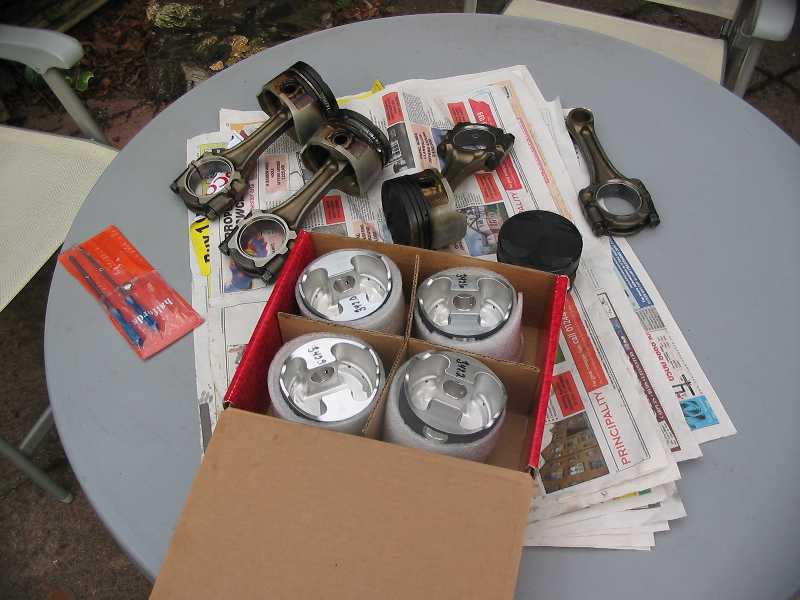
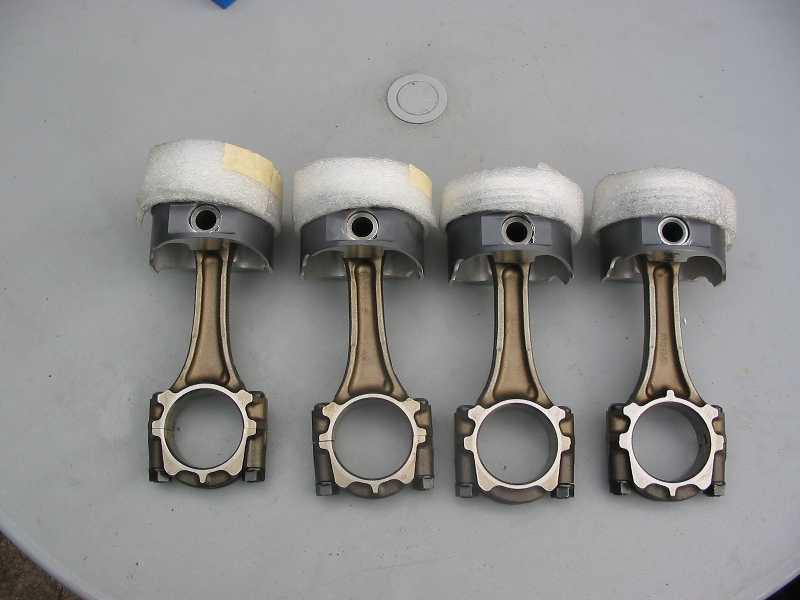
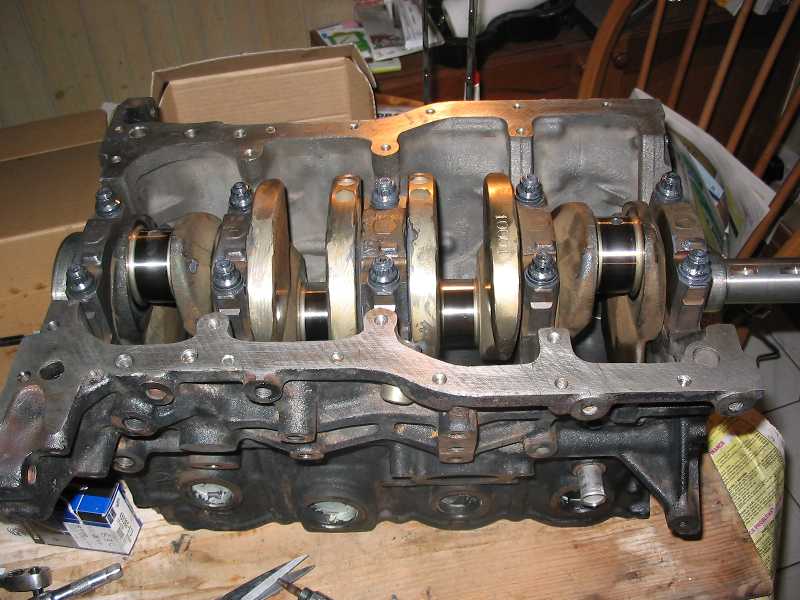
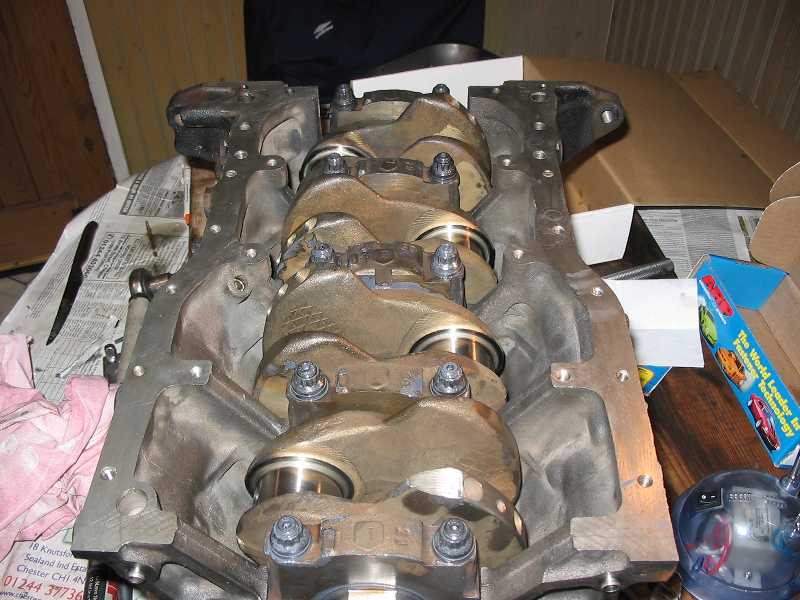
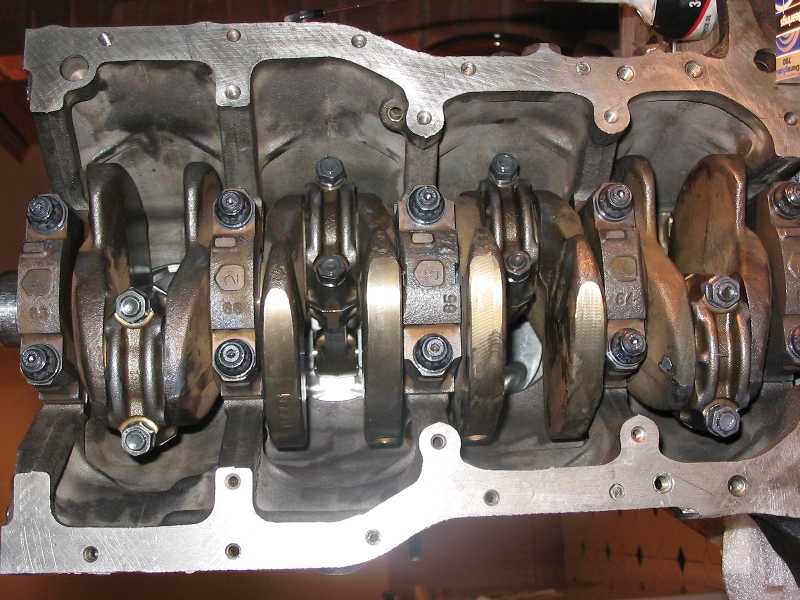
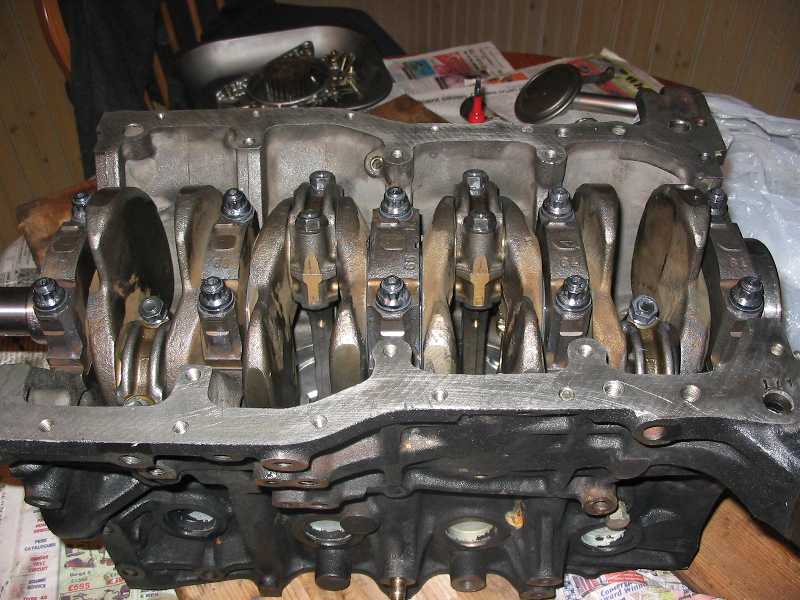
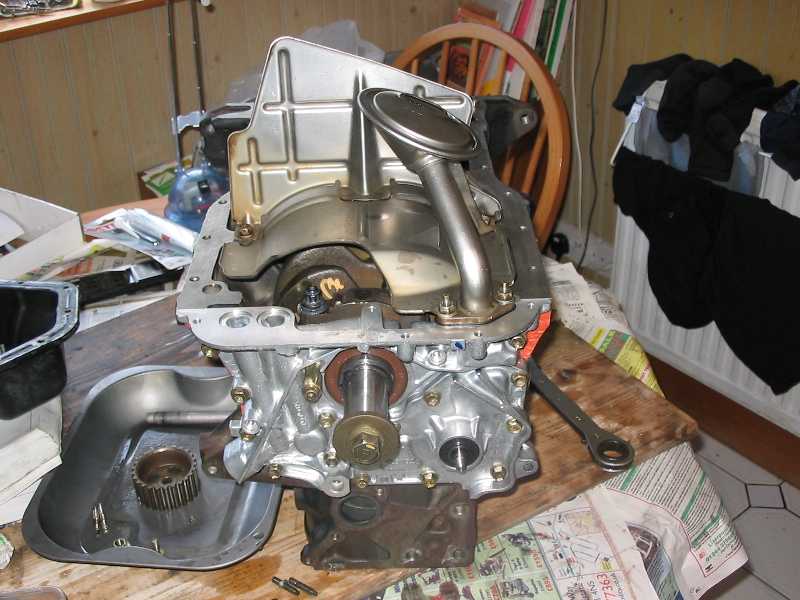
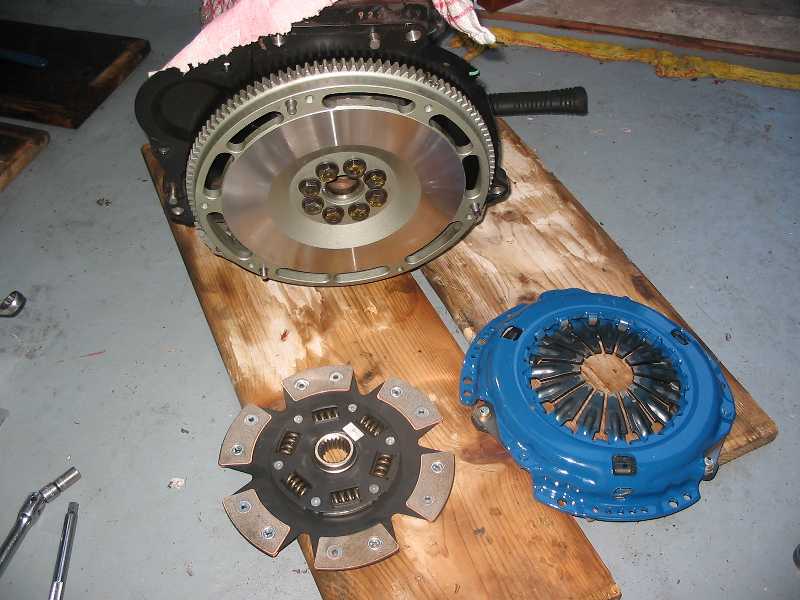
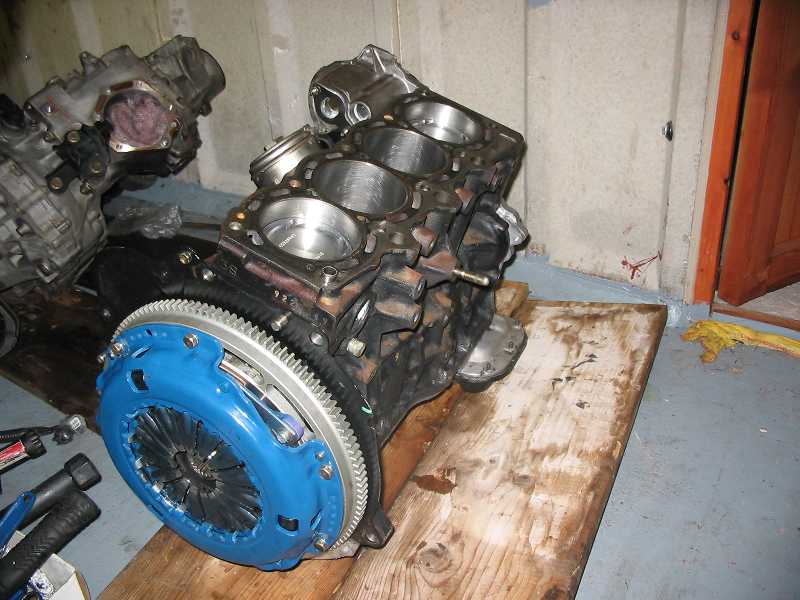
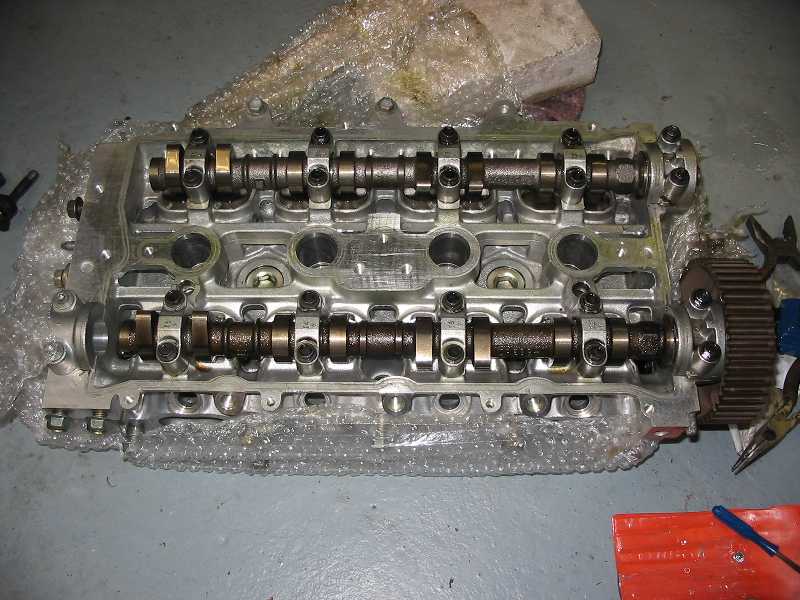
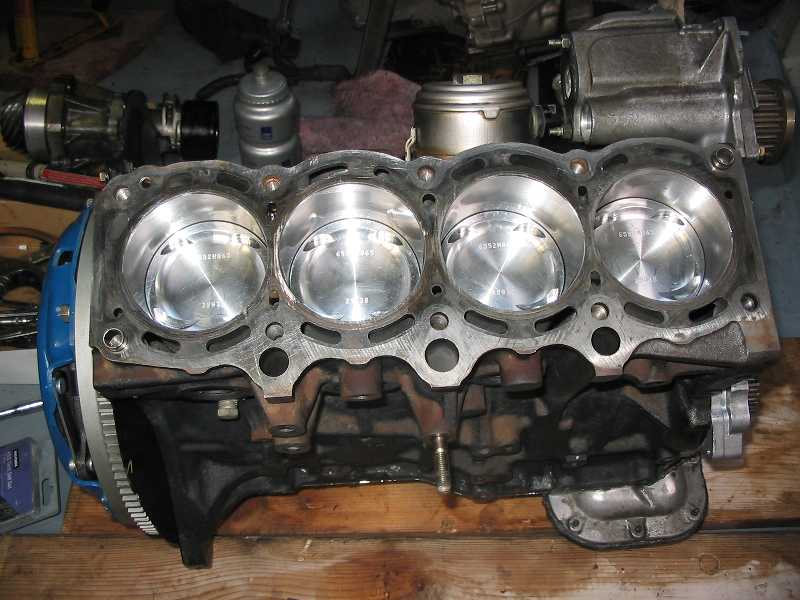
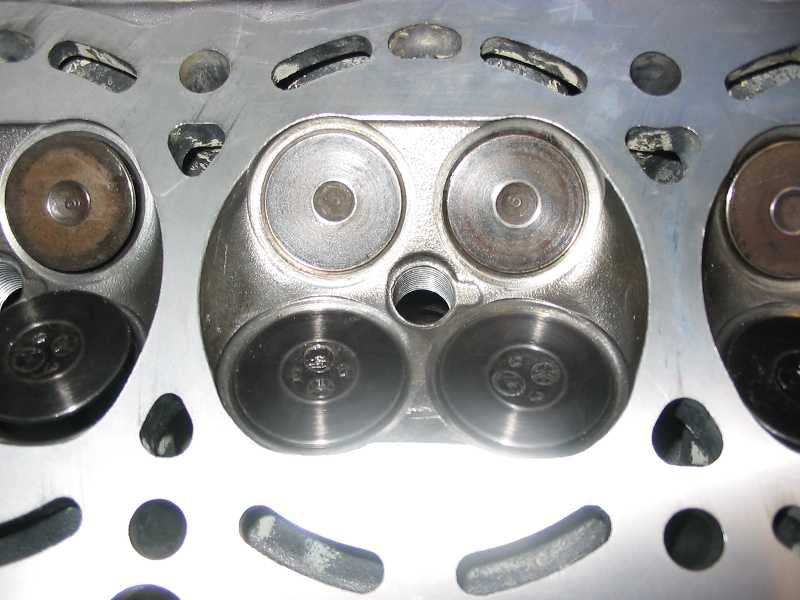
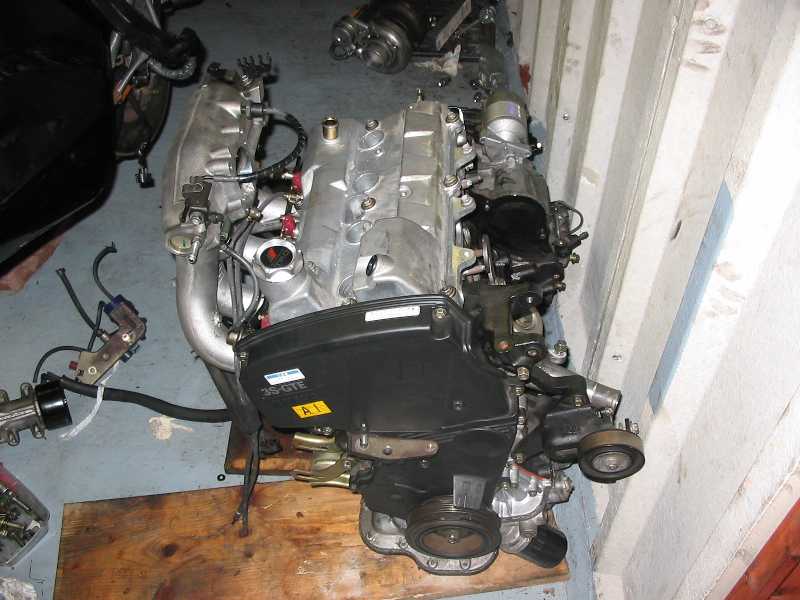
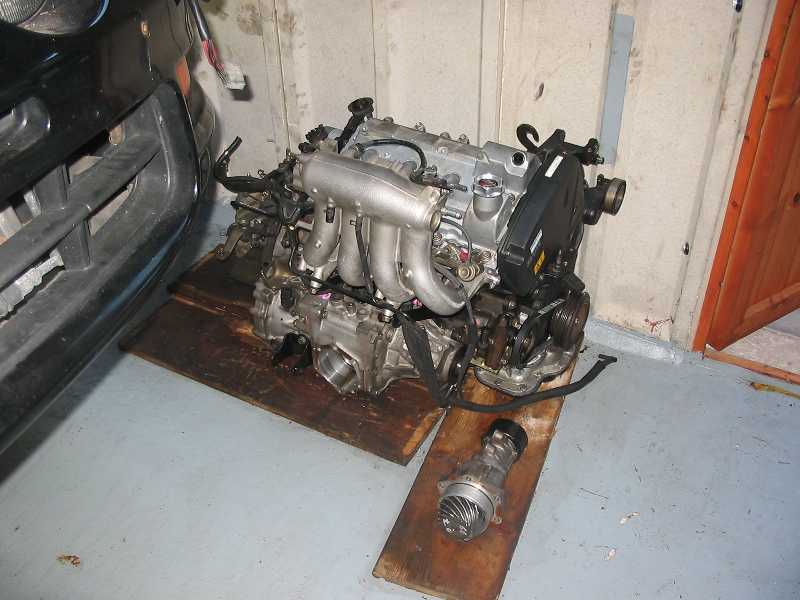
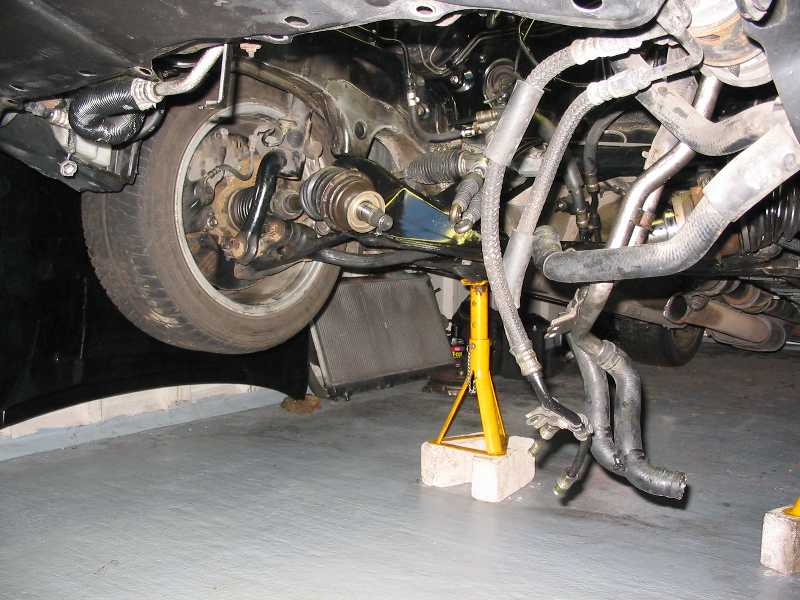
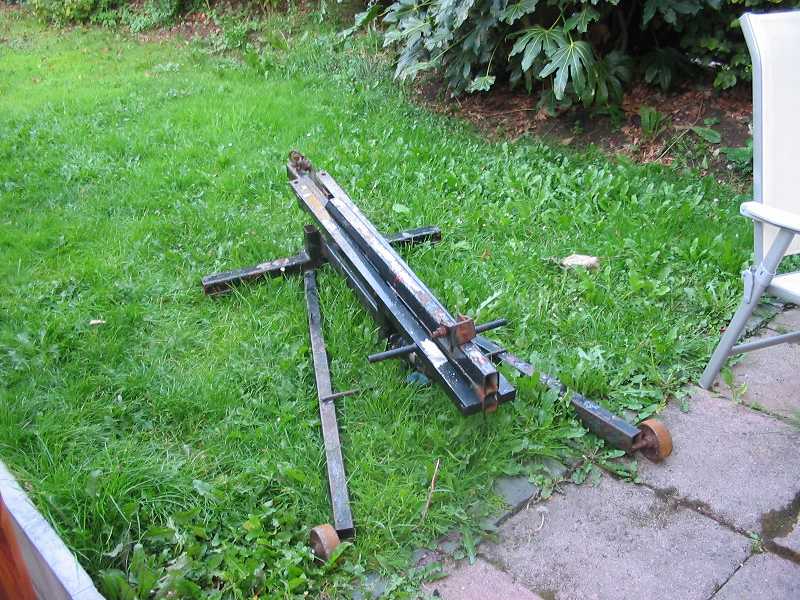
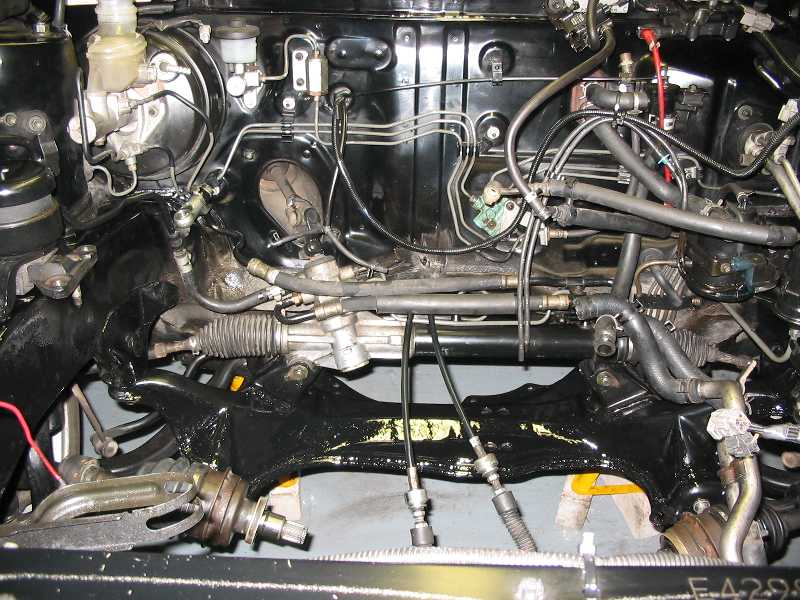
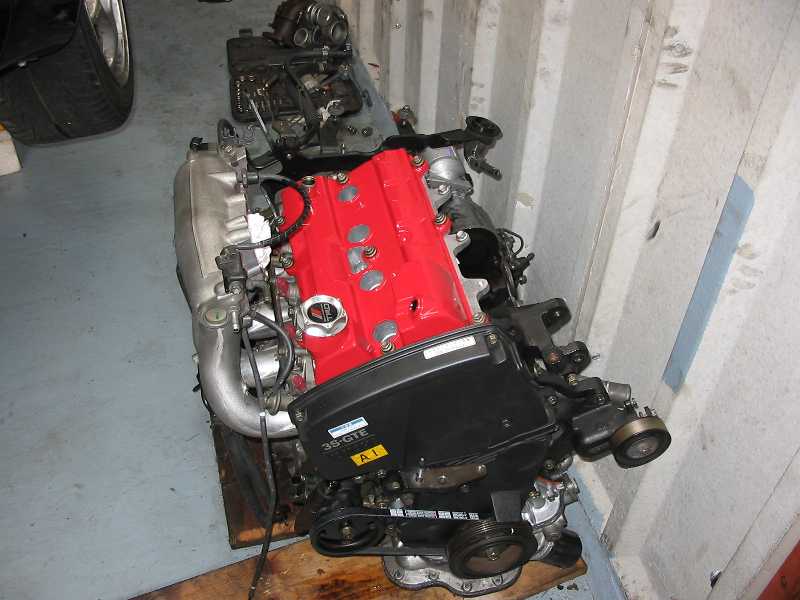
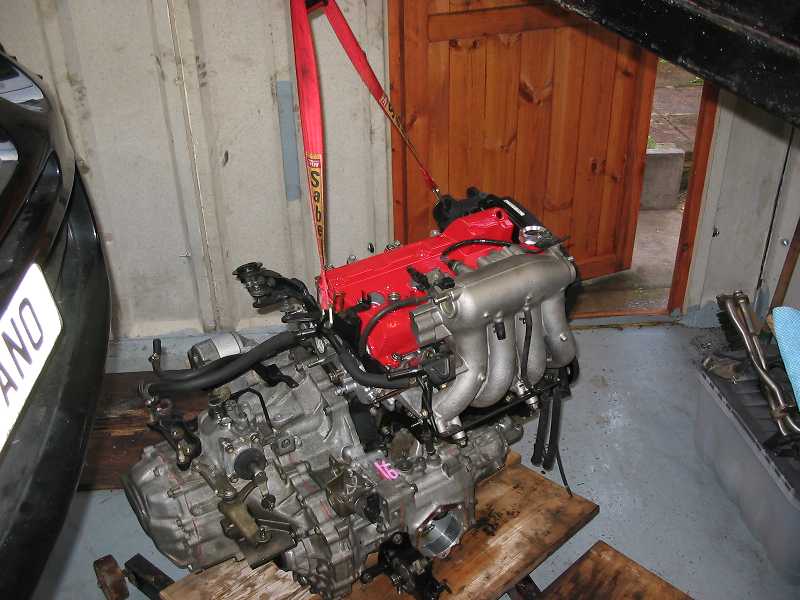
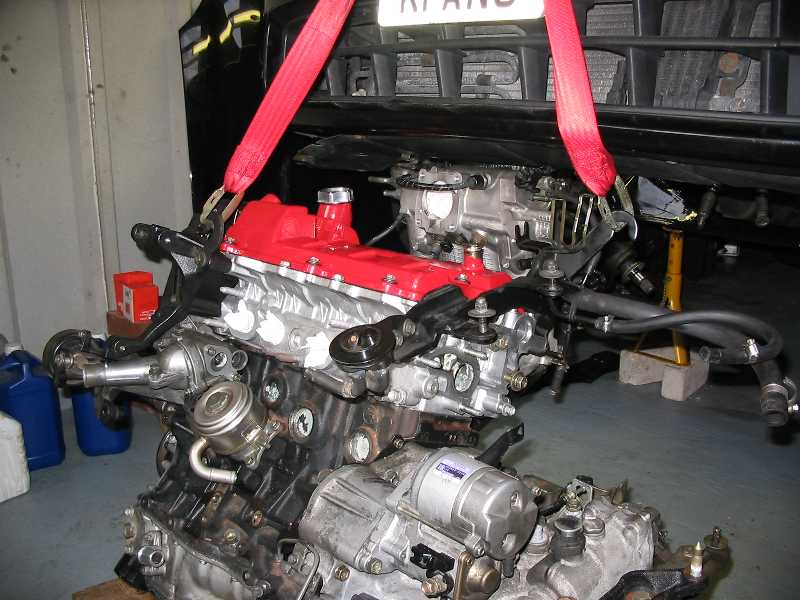
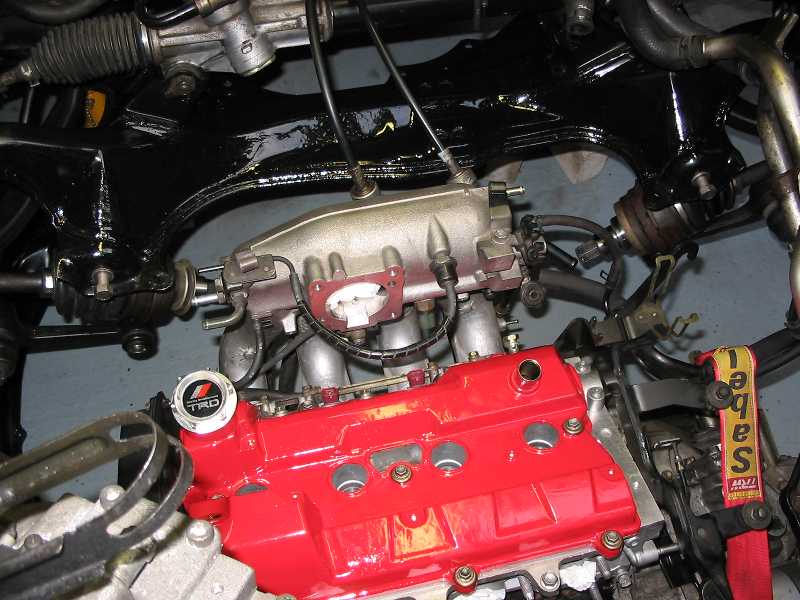
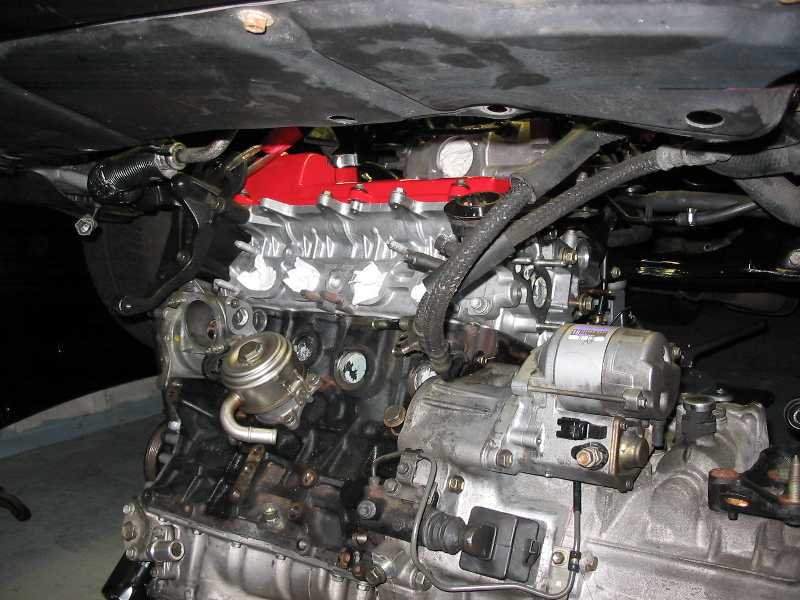
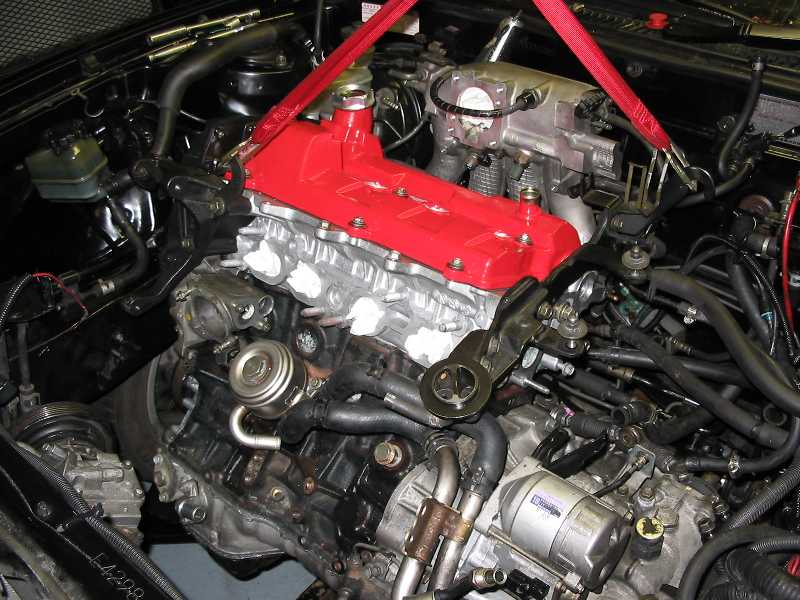
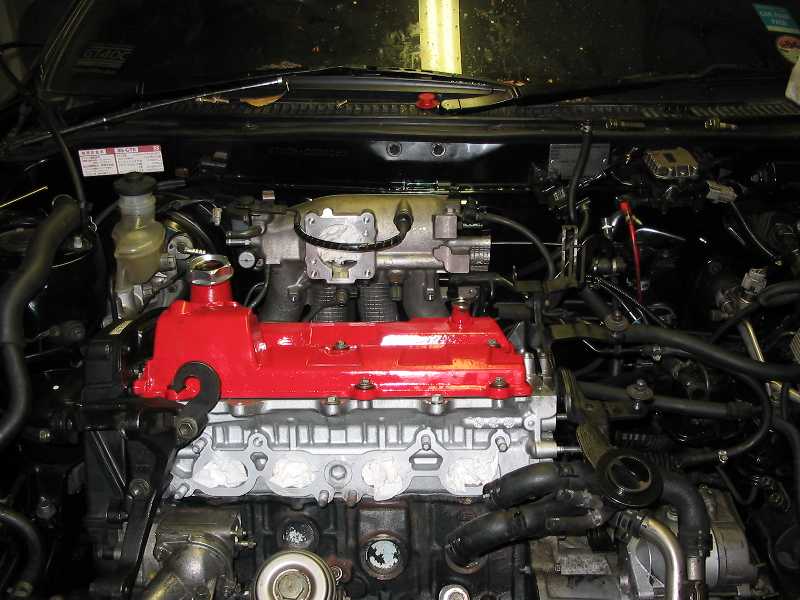
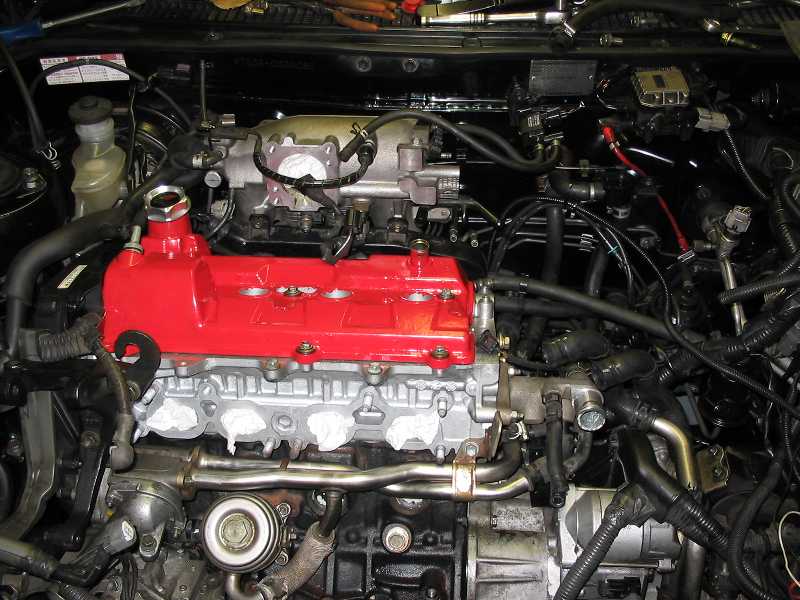
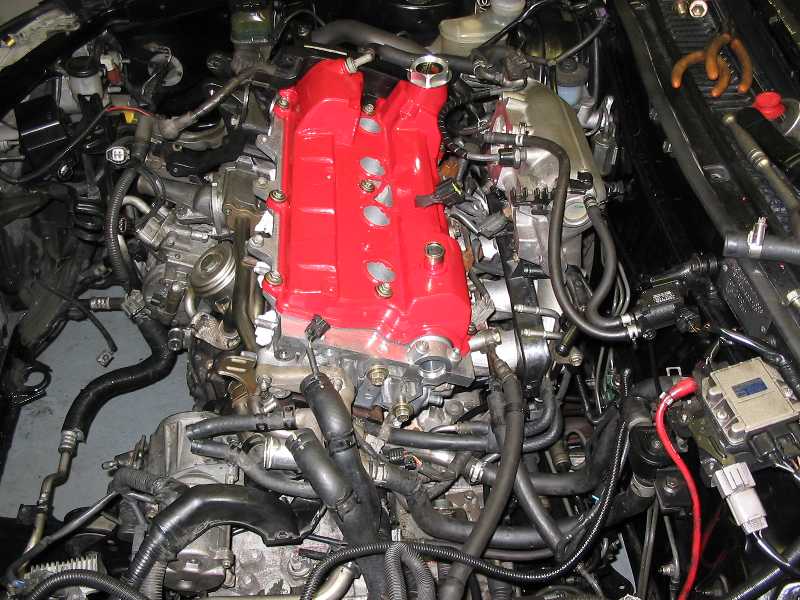
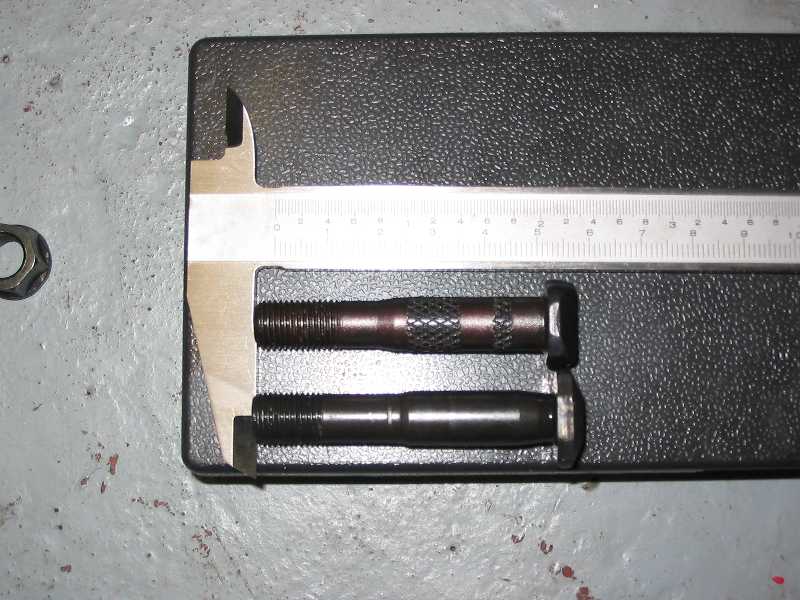
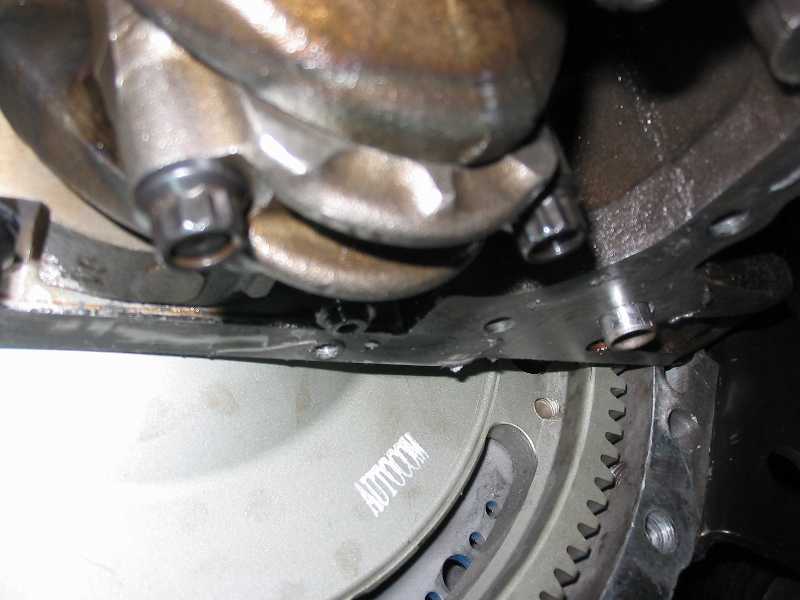
Time I had intended to try and get away with an in-situ rebuild and replace the pistons with Toyota ones and glaze-bust the block, but found that the block required a rebore. This was confirmed after purchase of a dial bore gauge which myself and Welshman checked my block with. The intollerances were small but even so they were sufficient enough for me to decide to go the full hog. The engine removal was OK as I had already taken off the head so gaining access to the block and gearbox was fine. I lifted the car up off the engine using trolly jacks and found this to be quite easy - again probably because the engine had no cylinder head. One thing that made the engine removal process easier was the removal of the output shaft from the back of the transfer case. This has 6 bolts holding it on and, once removed, gave a lot of clearance for the engine to be dropped down onto the garage floor. The engine was removed and I began to source the required parts. I knew I wanted to do the rebuild on a budget and by my own hand. I had a few months before my next Nurburgring trip in September so had plenty of time. In the meantime I bought another ST185 CS to run about in ;-) I got all the parts ready and machining work done by around mid August and decided to build up the engine. The first thing was to gap the rings which was pretty easy. I can't remember the exact gaps but used the Toyota recommendations. I ensure the edged were parallel and that I left no burred edges. Fitting the rings to the pistons was a bit fiddly but I managed it without scratching the pistons - which is very important. I also tried to fit the ARP big end bolts which I had ordered to one of the connecting rods. They seemed to be too short as the bolt didn't come all the way through the nut. I immediately assumed they must be the wrong ones. As I was keen to get the engine built I decided to re-use the stock big end bolts which seems to be quite common. This could have been the worst mistake I could have made if it were not for some events which would occur later when I had difficulties getting oil pressure - let me save the details for later. Assembly of the short motor was also pretty easy with the correct tools i.e. Torque Wrench, and plenty of engine lube. You just have to take your time and ensure everything is spotlessly clean. I rebuilt my engine on the kitchen table ! The sump was added and bolted on as the final part of the short motor assembly. NB: Don't forget to install the belt guide from the old oil pump to the new one. This is very important as new pumps don't come with them. Failure to do this WILL result in a significant oil leak and one which will take considerable time to rectify - YOU HAVE BEEN WARNED ! Once the short motor was assembled I lugged it into the garage - on my own. I then bolted on the head and pulleys and installed the timing belt. The static timing was done as per the Toyota Workshop manual. This involves using a torque wrench to pre-load the belt tensioner before tightening it up. Again this all went well and only took a couple of hours. The flywheels and clutch were bolted onto the other end of the engine. Loctite was used to secure the flywheel bolts and the clutch was carefully aligned to make the gearbox installation easier later. Next was bolting the gearbox onto the engine alone ! I expected this to take ages but I devised a simple trick. I propped the short motor up on some wooden pallets which I had. The engine was horizontally level at the correct height for the gearbox output shaft to slide into the flywheel. The gearbox was also rested on a wooden pallet which I had greased. I was able to slide the gearbox along the pallet making slight height adjustments to the stationary engine. The gearbox shaft located into the flywheel after a few minutes and I was able to use bolts to pull the engine and gearbox together. Final assembly was basically installing all brackets and ancillaries (except the Turbo). I decided to approach the engine reinstallation in a methodical way. I was also on my own so the method had to be foolproof and safe. I had an engine hoist (borrowed) on wheels and trolley jacks and axle stands. I figured dropping the car onto the engine was the safest and easiest option. I man-handled the engine onto some wooden pallets which were sat on the engine crane support bars. This allowed the engine to sort of be wheeled around a bit. I lifted the car up on the trolley jacks and positioned the axle stands under the chassis. The car was high enough off the ground to allow the engine to slide under - I used to tape measure to verify the correct clearance. I was able to slide the engine carefully under the car and lift the engine up through the engine bay - all on my own. Securing the left and right side of the engine with the engine mounts was the critical task but once this was done, the installation of the engine connections i.e drive-shafts, wiring, power takeoff, prop-shaft, etc. was pretty straightforward. Once the engine was fully installed the I decided to try for oil pressure before finally fitting the turbo, chargecooler, radiator etc. Oh what joy I was about to face ! It was quite late on a Friday evening when the engine was finally ready for the oil pressure ritual. I decided to try and get oil pressure at this time rather than leave things till the morning. I filled the engine with oil, primed the oil galleries, which was easy with the turbo supply pipe off, and left out the spark plugs. The battery was fully charged so I thought the job would be easy. I had used quality engine lube to build the engine and greased the oil pump during engine assembly in readiness for this moment. I cranked the engine over for a few seconds, it cranked very fast of course, but no oil pressure came up. A few checks and more priming then cranking - still no oil pressure. This process continued for a while as I became more worried that the engine lube would be migrating from the bearings or that something serious was wrong. I had only expected a few seconds of cranking all together. It had been a couple of minutes at this stage so decided to call it a day. The following day I called a good friend of mine Paul Bartolo, who built the Orange ST205 from Scotland, he said not to woorry and keep cranking. I did for another minute or so. I then had a brainwave and decided to crank with the oil filter off to see if any oil was coming up from the pump. I cranked the engine over with no oil filter on and after a few seconds oil came out of the filter housing. Damn - there must have been an air lock in the pump which could not purge due to the oil which I primed the engine with - let that be a lesson to anyone about priming the entire engine ! I am sure had I not primed the engine or left the filter off the pump would have purged immediately. So on refitting the filter and blocking the turbo oil feed hole again the engine got full oil pressure after a further few turns. I could now finish the engine assembly. This didn't take more than a couple of hours to fit the hybrid turbo, plugs and leads, chargecooler, downpipe and exhaust and finally the radiator. The engine started no problem once everything was fitted. It ran a bit lumpy for a while and seemed to be chucking out some black smoke indicating rich running. After another call to Paul I realised I had not connected the MAP sensor which was why the car was running this way. On reconnection the engine started to run fine. I backed the car out of the garage and back in and decided at this stage to change the oil. I was a little worried that I had cranked the engine over excessively and damaged the bearings - yes you can call it paranoia. This paranoia got worse when I dropped the oil which was very dark and milky. Now I figured it was supposed to be like this but I still thought it looked worse than it should. The oil was milky and kind of looked a bit like metallic paint. A couple of calls to people met with 'everything will be fine' and 'don't worry' etc. I had already decided to take the sump off just to check ! So basically the engine had only been running for a few minutes and I was taking the sump off ! It didn't take long really. Jack the car up, drop the exhaust, undo the rear engine mount and steering rack - which is easy on the ST205. I removed the cross member also of course. The steel sump came off once I had removed all the bolts and I was able to access the hidden bolts which allowed me to remove the complete sump section. With a sense of trepidation I removed each big end to find no wear whatsoever, none on the mains either. What had I expected for goodness sake - so this was just me being silly ! Of course as I removed each main I re-fitted it with lube before undoing the next one whilst ensuring everything was still spotlessly clean. Bear in mind I was working under the car with a strip light too. I refitted three of the bigends no problem but the last one was to change my fate. for the better I think, and probably save me a lot of money - though it didn't seem like it at the time. TO BE CONTINUED ... The following is a set of pictures from the engine rebuild ...
Below is a list of what I did to the engine.
|


| [ home | site map | back | forward | top ] |